Build a custom register page with Next.js, Tailwind CSS, and Next-Auth
Build a custom registration page for NextAuth! The credential provider checks credentials against an external source, but there is nothing in NextAuth that helps get the user into the database in the first place.
This guide walks through creating the page and the API route to insert a new user into the database.
Technologies
It's okay if you have a slightly different technology stack. Just adapt the code and logic to your specific use case.
Guide
Follow along, or download the entire project.
Source: https://github.com/ethanmick/nextauth-custom-register
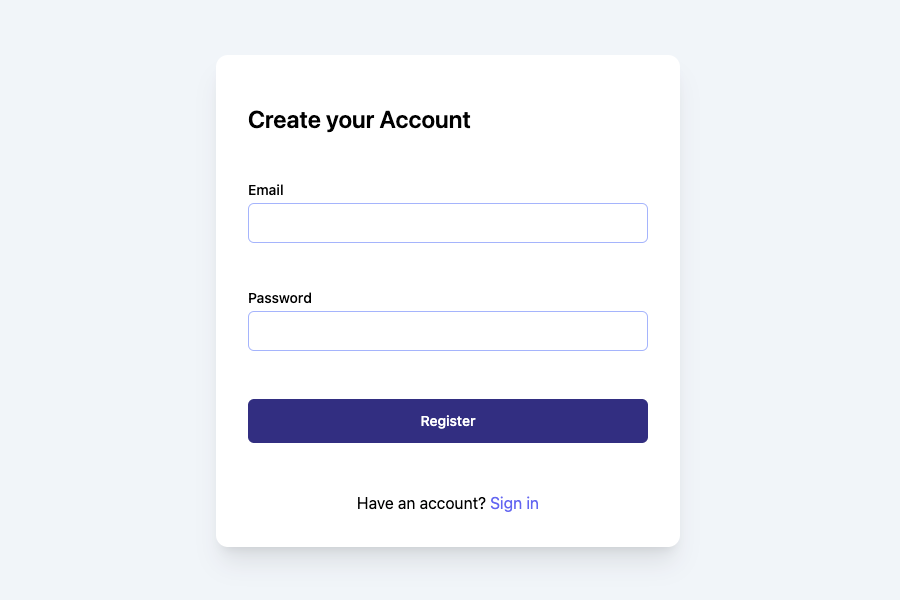
The first thing to do is to build the Register page in the app directory:
import Link from 'next/link'
import { RegisterForm } from './form'

export default function RegisterPage() {
  return (
    <div className="h-screen w-screen flex justify-center items-center bg-slate-100">
      <div className="sm:shadow-xl px-8 pb-8 pt-12 sm:bg-white rounded-xl space-y-12">
        <h1 className="font-semibold text-2xl">Create your Account</h1>
        <RegisterForm />
        <p className="text-center">
          Have an account?{' '}
          <Link className="text-indigo-500 hover:underline" href="/login">
            Sign in
          </Link>{' '}
        </p>
      </div>
    </div>
  )
}
app/register/page.tsx
The form is interactive, so it needs to be a client component. Create a new file in the same app/register directory called form.tsx that you can import:
'use client'

import { Alert } from '@/components/ui/alert'
import { Button } from '@/components/ui/button'
import { Input } from '@/components/ui/input'
import { Label } from '@/components/ui/label'
import { signIn } from 'next-auth/react'
import { useState } from 'react'

export const RegisterForm = () => {
  const [email, setEmail] = useState('')
  const [password, setPassword] = useState('')
  const [error, setError] = useState<string | null>(null)

  const onSubmit = async (e: React.FormEvent) => {
    e.preventDefault()

    try {
      const res = await fetch('/api/register', {
        method: 'POST',
        body: JSON.stringify({
          email,
          password
        }),
        headers: {
          'Content-Type': 'application/json'
        }
      })
      if (res.ok) {
        signIn()
      } else {
        setError((await res.json()).error)
      }
    } catch (error: any) {
      setError(error?.message)
    }
  }

  return (
    <form onSubmit={onSubmit} className="space-y-12 w-full sm:w-[400px]">
      <div className="grid w-full items-center gap-1.5">
        <Label htmlFor="email">Email</Label>
        <Input
          className="w-full"
          required
          value={email}
          onChange={(e) => setEmail(e.target.value)}
          id="email"
          type="email"
        />
      </div>
      <div className="grid w-full items-center gap-1.5">
        <Label htmlFor="password">Password</Label>
        <Input
          className="w-full"
          required
          value={password}
          onChange={(e) => setPassword(e.target.value)}
          id="password"
          type="password"
        />
      </div>
      {error && <Alert>{error}</Alert>}
      <div className="w-full">
        <Button className="w-full" size="lg">
          Register
        </Button>
      </div>
    </form>
  )
}
The components referenced can be copied and pulled in from here: https://ui.shadcn.com/docs/primitives/accordion
Last, to create the user in Prisma you need to create a new API route that will handle the incoming POST request.
Create a new file: app/api/register/route.ts and put in the following:
import { prisma } from '@/lib/prisma'
import { hash } from 'bcrypt'
import { NextResponse } from 'next/server'

export async function POST(req: Request) {
  try {
    const { email, password } = await req.json()
    const hashed = await hash(password, 12)

    const user = await prisma.user.create({
      data: {
        email,
        password: hashed
      }
    })

    return NextResponse.json({
      user: {
        email: user.email
      }
    })
  } catch (err: any) {
    return new NextResponse(
      JSON.stringify({
        error: err.message
      }),
      {
        status: 500
      }
    )
  }
}
The app/api/register/route.ts file.
Always remember to be careful when dealing with user passwords. Here, we use Bcrypt to hash the password before saving it.
Source Code
You can find the source on my GitHub account: https://github.com/ethanmick/nextauth-custom-register